Friday, January 30, 2015

Quiet Book Page 17: What Time Is It?

A lot of this quiet book was made to be educational and fun. I wanted to include a page that would teach Owen about time, so this is what I came up with from all the different pages I found. 

Page 17: What Time Is It?

Teaches: Numbers, telling time, analog and digital clocks

My inspiration for this page cam from here. Just like the rest of her quiet book, Sabrina's telling time page is perfection. I loved it, so I made mine based off of hers. My favorite aspect was that it included both analog and digital time. 

Here is my version:


As with most of my other pages, I first drew a sketch of what I wanted the page to look like, then used that as a pattern. I used puffy paint for the "What Time Is It?" and for the numbers on the analog clock. 

A grommet was put in the end of each hand of the analog clock and a button was sewn on top to allow the hands to be moved. 


I cut out little black numbers for all the possible digital combinations of time. The digital clock doubles as a pocket for all those numbers. 


My hope for this page (when Owen is older) is to be able to put a time on one of the clocks and have Owen be able to put the same time on the other clock!

~K.A.N.

Wednesday, January 28, 2015

Quiet Book Page 16: Make a Phone Call

At the time I was making the quiet book, Owen was just learning what a phone was. Now, phones are one of his favorite things and I am so happy that I included this page for him. 

Page 16: Make a Phone Call

Teaches: Numbers, snapping, dialing, talking on the phone

My inspiration for this page came from my friend's book and from here

Here is my finished page:


This page was pretty simple to put together. I asked my grandma to check her local thrift store for an old phone with a cord and she found one! They sent me the whole thing, so I used the cord for this page and kept the phone for Owen to play with. 

I first drew out the phone on a piece of paper and picked my felt for each piece. I did mostly hand stitching for this page and I love the look of the blanket stitch. The only tricky part about this page was sewing the cord on. It is a real cord, so the plastic was hard to get the needle through, but it worked out and it hasn't come apart yet. 

I used sew-on snaps to keep the phone piece in place. These snaps are much easier to get off than the snaps I used on my shapes page, but both kinds are good. 


This page is so simple, but Owen loves it! He picks up the phone and says, "Hello?!", then talks all sorts of gibberish until we try to talk back, which is apparently his queue to say, "Bye!!". If your little one loves phones, this would be a perfect addition to their quiet book!

~K.A.N.

Monday, January 26, 2015

Quiet Book Pages 14 and 15: Write a Letter and Mailbox

Although Owen won't be able to use this page for a while, I thought it would be a fun one to add in.

Pages 14 and 15: Write a Letter and Mailbox

Teaches: Writing, drawing, how mail works

My inspiration for these pages came from here. She gives a free pattern that I absolutely love! I didn't use all of her pattern, but it was a perfect starting point. 

Here are my pages:


I added the whole left page as a place to store pens or pencils, paper, and envelopes. I also added the grass on the right page just for fun. I love it!

In her pattern for the mailbox, she includes a pattern for little envelopes. I loved the idea of having reusable ones, so I used it. 


Velcro is used to keep them closed when "mail" is inside each envelope. 


I love this pattern because it looks like a real mailbox. It is made so there is a pocket and the mail can actually go into the mailbox. A ribbon and button hold the mailbox closed.  


A button and grommet are used to allow the flag to move up and down for when there is and isn't mail. So cute!


I used some hand stitching and some machine stitching for these pages and I think they turned out great! I can't wait for Owen to understand enough to send and receive mail. 

~K.A.N.

Wednesday, January 21, 2015

Quiet Book Page 13: Noah's Ark

This is probably my very favorite page I made for the quiet book. The reason: all of the cute little animals that go in the ark. They are the best, and I actually designed them myself! If you would like the pattern, please comment your email and I will send the pattern as soon as I can.

Page 13: Noah's Ark

Teaches: Animals, and the story of Noah's Ark

My inspiration for this page came from my friend's quiet book and from here

This is how my ark turned out:


I first drew out the arc with all the windows, door, etc on a piece of paper. I used that as my pattern, cut the pieces, and sewed everything together, starting with sewing the zipper into the main boat part. I used mostly machine stitching for the actual ark part and all hand stitching for the animals. 

The rainbow ribbon was given to me by my friend who inspired me to make this quiet book. It is exactly what this page needed to make it perfect. 


For the animals, I drew them out in pencil, then once I liked how they looked, I traced over the pencil with sharpie to get a nice thick pattern. I then traced each individual part onto a different paper. Each of those was labeled and cut out for the pattern. I chose my colors for each animal and started cutting felt. I used all hand stitching (blanket stitch) for these, so they took some extra time, but I absolutely love how they turned out. They are stuffed with normal stuffing and the eyes were added on last using puffy paint.

I scanned in the pattern for all the animals and the sun before cutting them out. If you would like a copy of the pattern, comment on this page or email me!

Sun (obviously not an animal, but I wanted to include it):

Owl: 

Black Bear: 

Lion: 

Giraffe: 

Monkey:

Bird:

Elephant: 

Rhino: 

This is also one of Owen's favorite pages to play with. He loves to take the animals out one by one and kiss them. It's the cutest.

Again, contact me if you would like a copy of the animal patterns and I will get it to you as quickly as possible. 

~K.A.N.

Monday, January 19, 2015

Crochet Heart Pattern and Tutorial

Christmas has always been the holiday that I decorate for. In October my awesome mom helped me make some Halloween decorations, and this year for Valentine's Day I decided to make a simple crochet heart decoration. Someday I may have decorations for every holiday! 

I found this pattern on Everything Etsy (here) and loved it. I thought I would use the same pattern and add pictures to give a nice little tutorial for you. 

NOTE: a treble and a triple crochet are the same thing; I will call it a treble. 

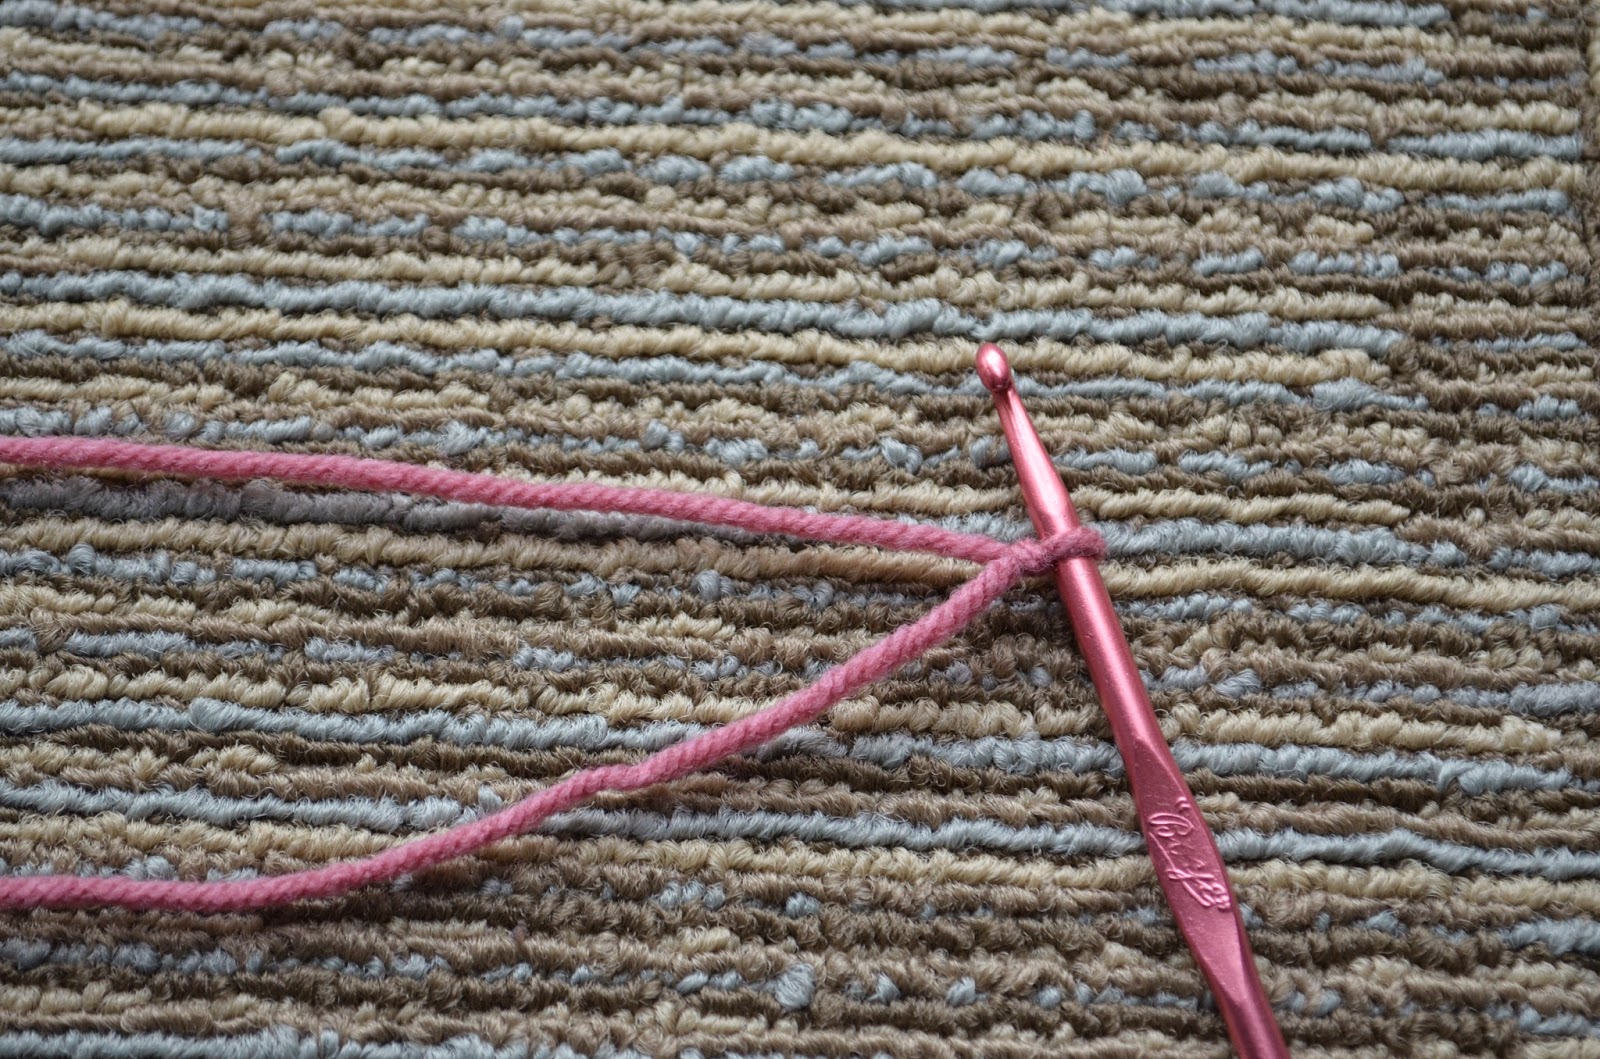
First, make a slip knot: 


Chain 4: 


Crochet 3 treble crochets into the first chain:

Wrap yarn around hook twice

Insert hook into first chain

 Wrap yarn around hook

Pull through chain space (this will give you 4 loops on your hook)

 Wrap yarn around hook

Pull through 2 loops (this will give you 3 loops on your hook)

Wrap yarn around hook 

Pull through 2 loops (this will leave you with 2 loops on your hook)

Wrap yarn around your hook 

Pull through last 2 loops

That is one treble crochet. Crochet 2 more of those into the same space as the first. You will end up with this: 


Chain 1:

Now crochet three double crochets into the same space as the trebles (that very first chain)

Wrap yarn around hook

 Insert into first chain space

Wrap yarn around hook

Pull through chain space (this will give you three loops on your hook)

Wrap yarn around hook

Pull through two loops (this will leave you with 2 loops on your hook)

Wrap yarn around hook 

Pull through both loops 

That is one double crochet. Crochet two more double crochets into that first chain space. You will then have this:


Chain 1:

Crochet 1 treble (triple) crochet into the first chain space. This will be the point of your heart: 


Chain 1:

Crochet 3 double crochets into the first chain space:

Chain 1:

Crochet 3 treble crochets into the first chain space: 

Chain 3:

Slip stitch into the first chain space and cut yarn: 

Pull yarn to the back of the heart and tie a knot to finish:

Congrats! You have made a little crochet heart! 


These were so fast that I made a bunch and made them into a garland.


~K.A.N.