This is probably my very favorite page I made for the quiet book. The reason: all of the cute little animals that go in the ark. They are the best, and I actually designed them myself! If you would like the pattern, please comment your email and I will send the pattern as soon as I can.
Page 13: Noah's Ark
Teaches: Animals, and the story of Noah's Ark
My inspiration for this page came from my friend's quiet book and from
here.
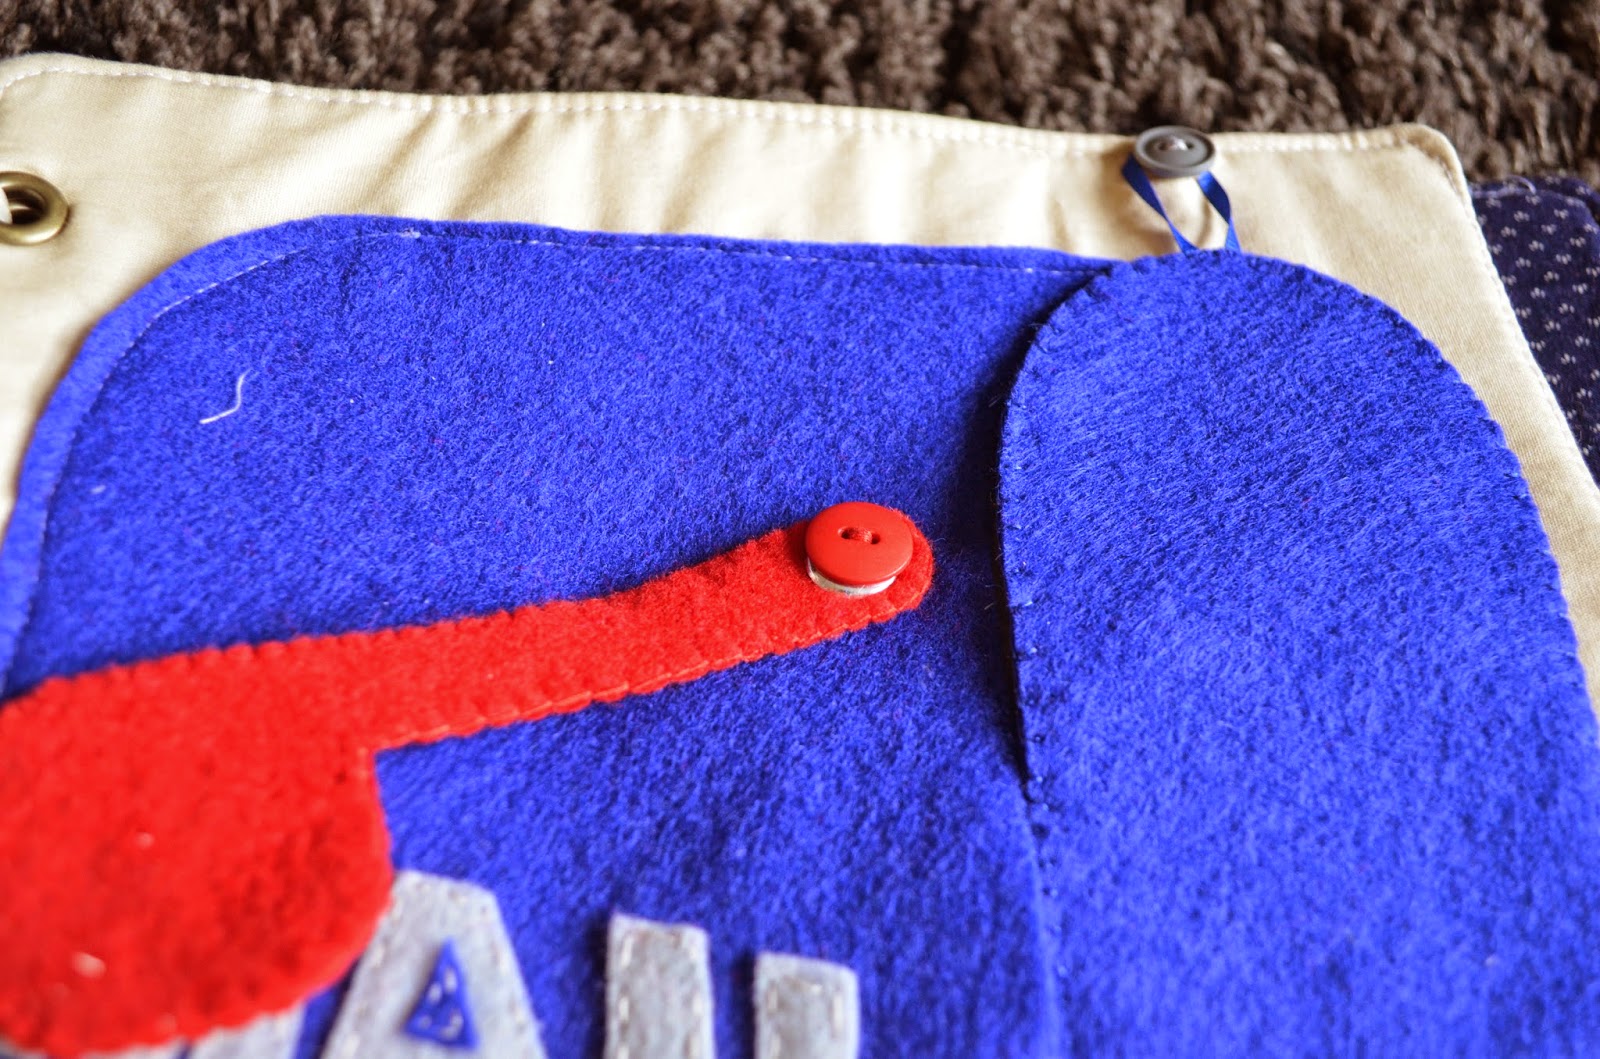
This is how my ark turned out:
I first drew out the arc with all the windows, door, etc on a piece of paper. I used that as my pattern, cut the pieces, and sewed everything together, starting with sewing the zipper into the main boat part. I used mostly machine stitching for the actual ark part and all hand stitching for the animals.
The rainbow ribbon was given to me by my friend who inspired me to make this quiet book. It is exactly what this page needed to make it perfect.
For the animals, I drew them out in pencil, then once I liked how they looked, I traced over the pencil with sharpie to get a nice thick pattern. I then traced each individual part onto a different paper. Each of those was labeled and cut out for the pattern. I chose my colors for each animal and started cutting felt. I used all hand stitching (blanket stitch) for these, so they took some extra time, but I absolutely love how they turned out. They are stuffed with normal stuffing and the eyes were added on last using puffy paint.
I scanned in the pattern for all the animals and the sun before cutting them out. If you would like a copy of the pattern, comment on this page or email me!
Sun (obviously not an animal, but I wanted to include it):
Owl:
Black Bear:
Lion:
Giraffe:
Monkey:
Bird:
Elephant:
Rhino:
This is also one of Owen's favorite pages to play with. He loves to take the animals out one by one and kiss them. It's the cutest.
Again, contact me if you would like a copy of the animal patterns and I will get it to you as quickly as possible.
~K.A.N.