Monday, January 27, 2014

Sock Monkey

My little guy was only about 5 months old at Christmas, so I knew presents weren't going to be a huge deal for him. Even still, I wanted to do something for him. He had started playing with toys, so I found this tutorial and loved the idea of making him a sock monkey! 

I went to Walmart and got a pack of 3 cute crew socks for about $5. I had them for a couple of weeks before I finally sat down and made one. When it was finished, I was so relieved to be finished and excited with how cute it was!


 I followed the tutorial linked above; her instructions are excellent. I expected it to be a fast project, but it ended up taking about 3 hours to do. It was easy, it just took a long time because of all the hand stitching that had to be done. 

I was originally planning on making all three pairs of socks into monkeys, but decided that the one would be fine for now. 

Baby O had fun opening presents on Christmas morning. I saved his sock monkey for last and he loved it! 


He still gets so excited every time I give it to him to play with. He loves to chew on the right arm and leg. It's a great toy because when he hits himself with it or rolls over it, I don't have to worry about it hurting him. 


~K.A.N.

Wednesday, January 22, 2014

Curtains!

In August we moved into a 3 bedroom, bottom floor apartment. After a smoke smell just wouldn't go away, we decided to try to get into a different apartment in the same complex. With a little more thought, we decided that a 2 bedroom would suit us just fine. In December, we were able to move into a 2 bedroom middle floor apartment and are just loving it! 

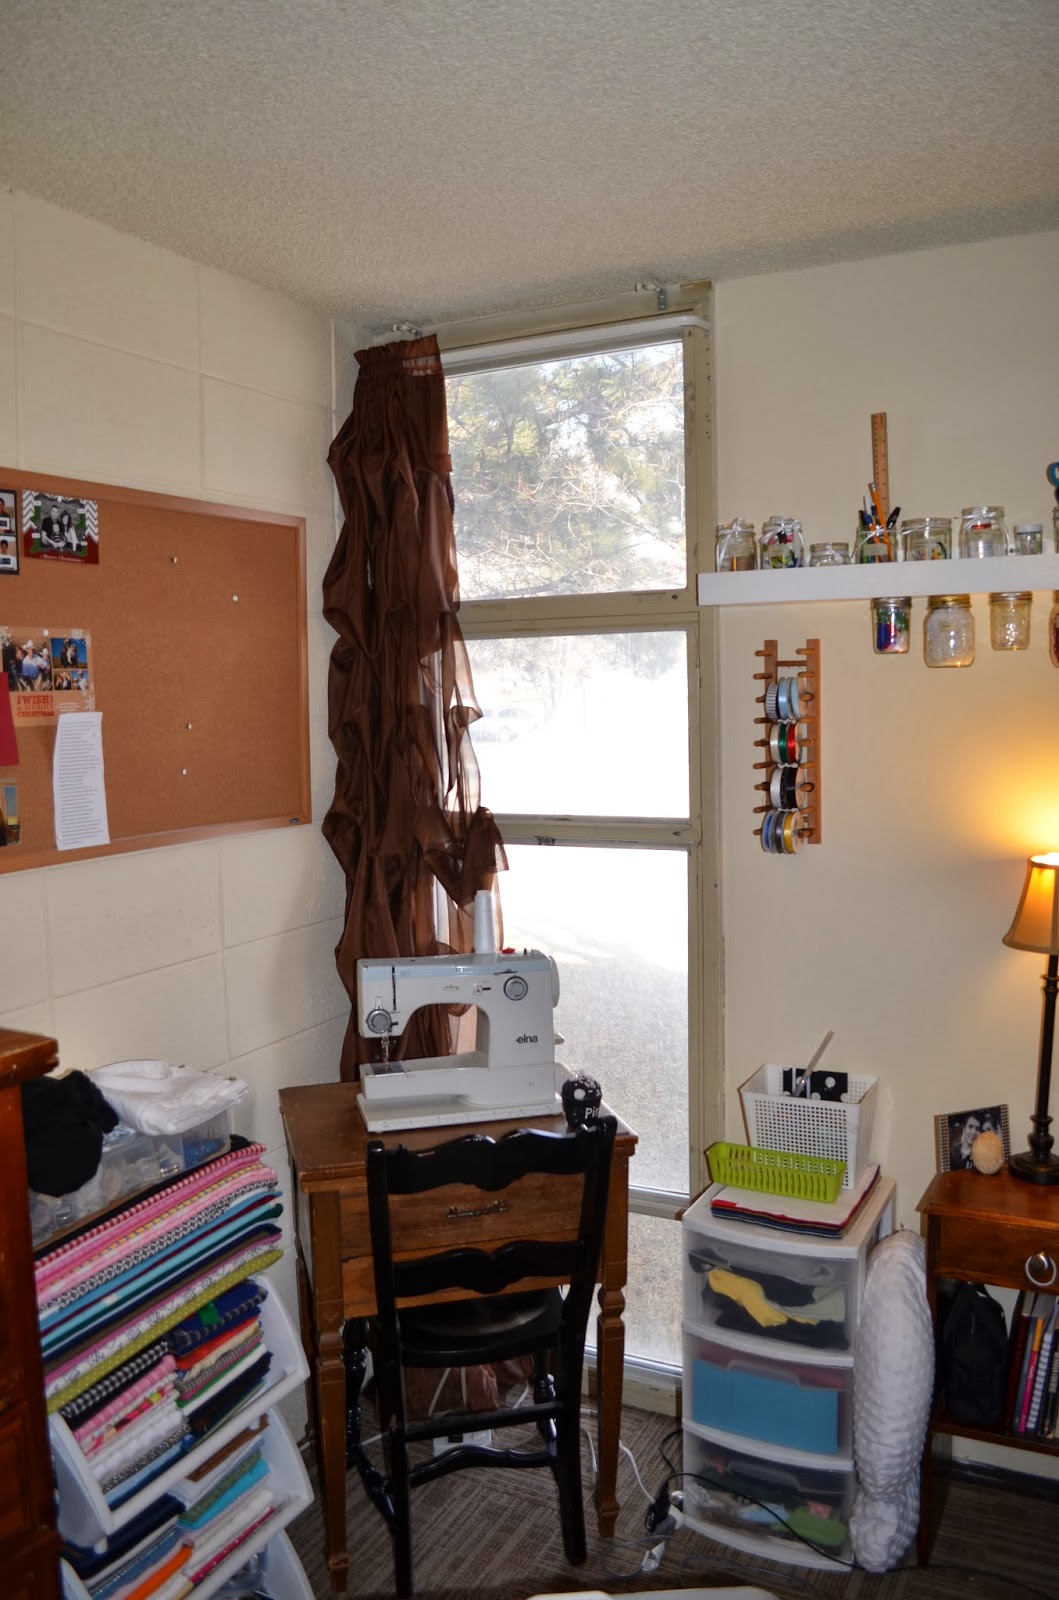
There is quite a difference between the windows of the bottom floor and the windows of the middle floor. The windows on the bottom floor start half-way up the wall, go all the way up and are across the whole room. The windows in our new apartment are on one side of the room and go floor to ceiling. 

The curtains I was planning on using were ones that we have had for a couple of years. They are brown shear curtains, more for decoration than covering. They worked great on all of the windows up until these ones, and I knew I was going to need to adjust them if I wanted them to work. 

Since we only have one long window in our room, we only needed one long curtain. My original plan was to just sew the two shorter curtains together. After looking at them, I realized that if I did that, there would be a large darker line across the middle. (The more times you fold a shear fabric over itself, the less shear and the darker it becomes).


I didn't want them to look terrible, and I had extra length to play with so I decided to add some ruffles to hide the dark middle line. I laid the curtains down on the floor and began to pin ruffles in. I adjusted a few times to get the overall length to what I needed. I pinned about 5 pins across each ruffle. 

I picked up the curtains to take them to my sewing machine. When I did that, in between each pin fell down a little bit and I liked it even more than the previous ruffles! So I just decided to sew a little line where each pin was and it worked. 


I also didn't want completely sheer curtains and looking through my fabric stash I found a dark brown piece of fabric that was the exact size of the curtains! That was awesome. So I sewed a line across the top to line them and hung them up!


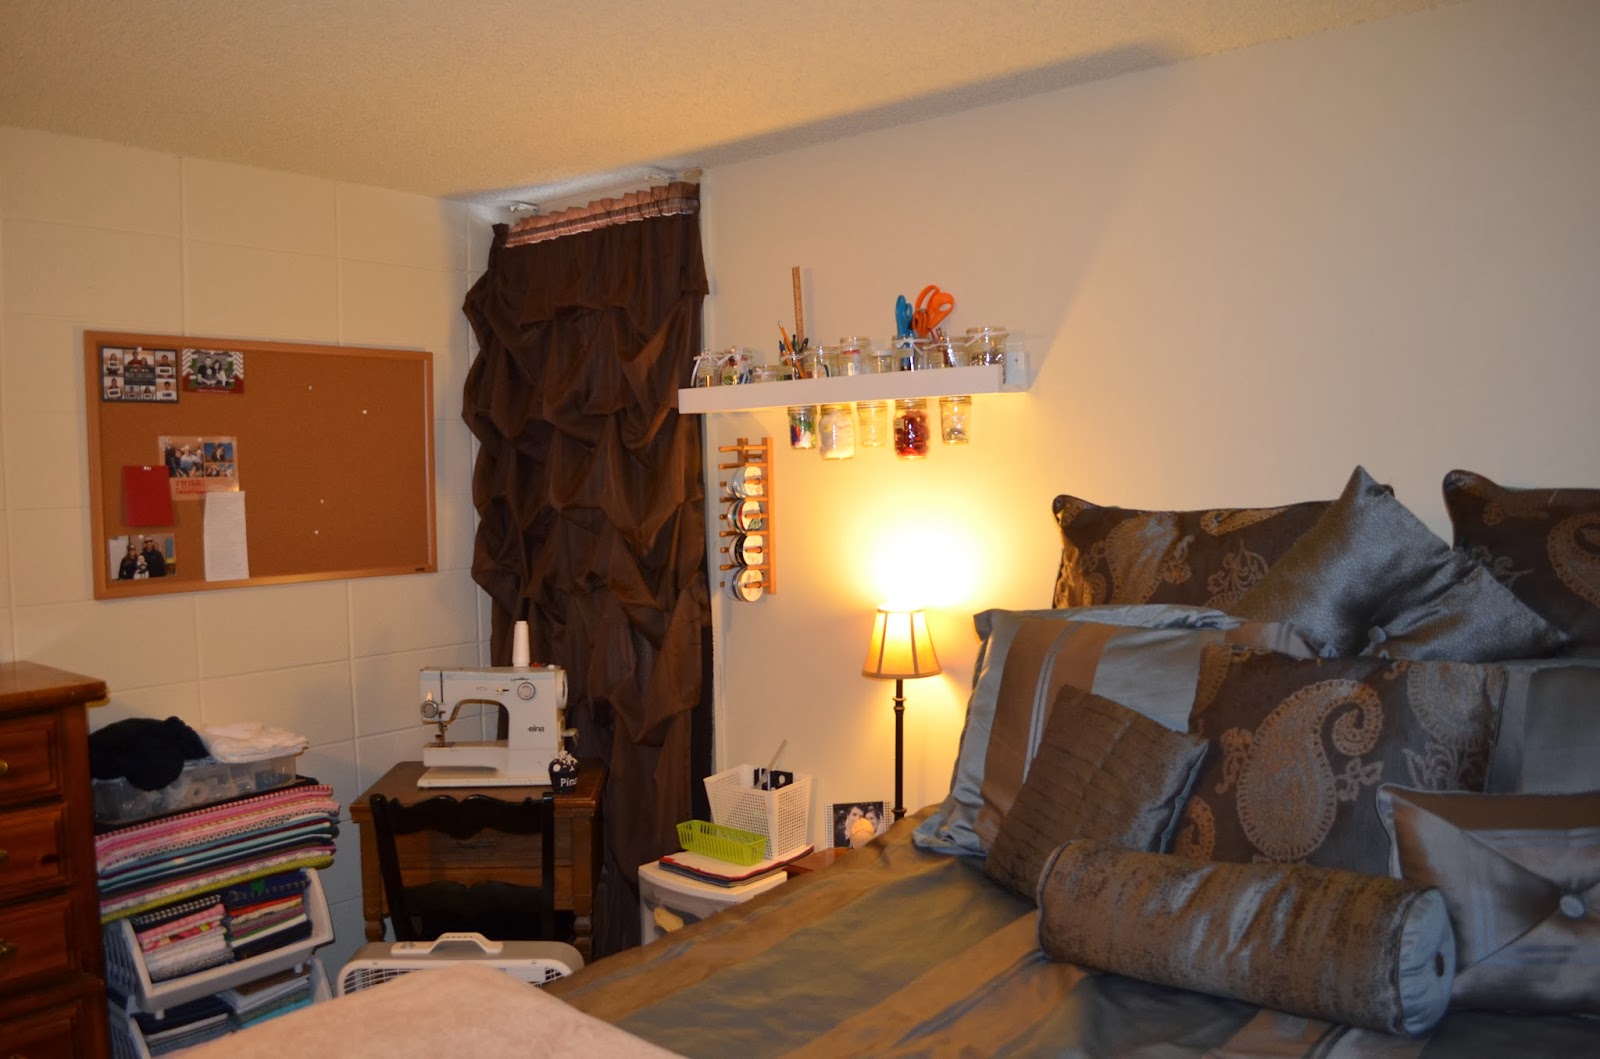
From the other corner of our room:
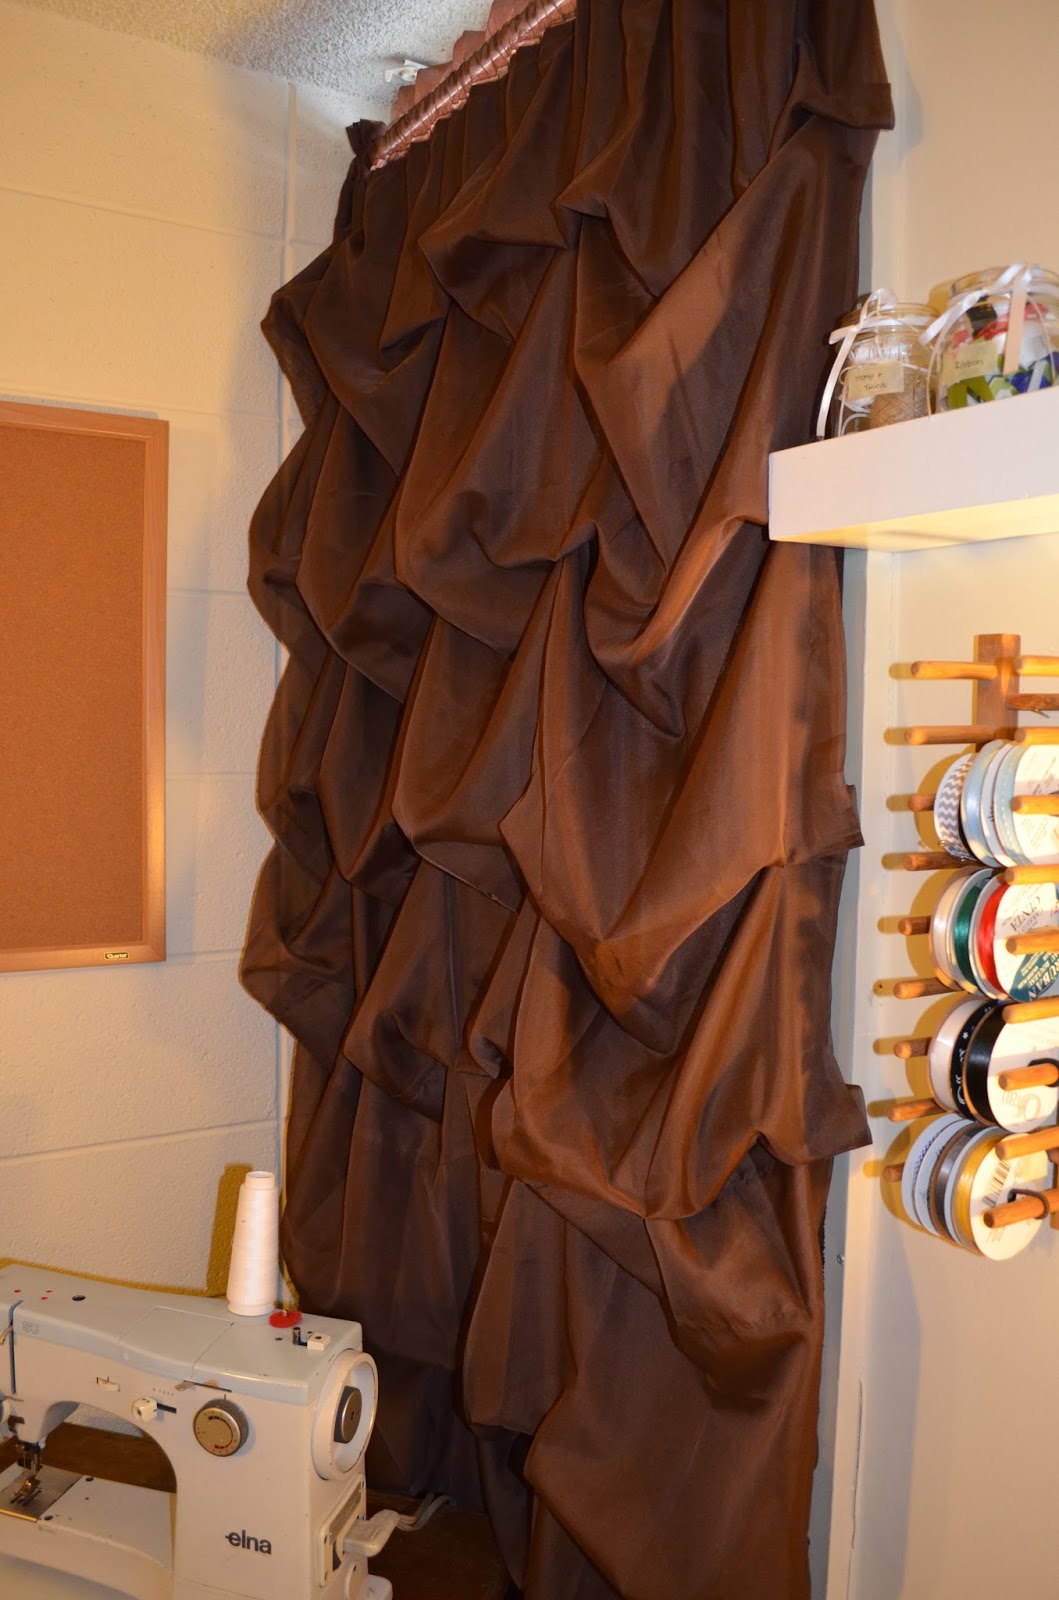

Close up:


 If we want some light to come in, but don't want to have our curtains opened all the way, we use a ribbon to tie the lining back:


 And sometimes we open them all the way!


I'm pretty pleased with how they turned out. Right now, we are all about making things work without spending any extra money if we can. With these curtains, we made it work.

~K.A.N.

Saturday, January 18, 2014

Refrigerator Magnets

Not only do I love to make gifts, but I really love to make gifts that don't cost very much and are still awesome. This was one of those gifts. Refrigerator magnets. Because what grandma, aunt, and uncle doesn't want to have that adorable baby all over their fridge? 

The first thing I did was create the pictures. I made 2 different 4x6" pictures, each containing six 2x2" pictures. This was done in Photoshop. I started with a blank 4x6 then added my cropped pictures one-at-a-time. Lining them up was the hard part, but once the first once was made, I used that as the canvas for the second one and it went much faster. 


I then ordered 4 of each picture. I ordered these pictures through the 1-hour photo at Wal-Mart. It was less than $2 total. 

I gathered the other supplies: 
-Scissors
-Paper cutter
-Sharpie
-Ritz boxes
-Double-sided tape squares
-Random business card magnets
-Hot glue

Once I had my pictures, I cut them out and separated them into their piles. I had 4 piles of 12 square pictures.


I then cut up the ritz boxes into 2x2 squares using my scissors and paper cutter. (You could use other boxes, those were just the ones I had available)


I used my sharpie to color all of the edges of the blank side of the cardboard squares. I did this because not all of my pictures and not all of my cardboard were exactly 2x2. The black edges just gave it a cleaner look.


I also used my sharpie to color the skinny edges. This also helped give a nicer and cleaner look.


 I then placed 2 double sided tape squares on the back of each photo and centered the photo on the cardboard.


The magnets were then cut just smaller than 2" to fit on the back of the cardboard. The other dimension was cut based on the strength of the magnet.


I then hot glued one magnet to the back of each picture. 


I tested all of the magnets on my fridge to make sure they worked and they did! I loved them!


I made 4 sets so I could keep one for our fridge. I think I will be making some of  these every couple of months!


~K.A.N.

Thursday, January 16, 2014

Mustache Cup Cozy

This is a project that I made for my sister for her Birthday/Christmas present. I technically gave her 3 things, so I figured I could count it for both holidays. 

I had wanted to make her a cup cozy for her gift and had seen several different ideas on Pinterest. Some were sewn, some were crocheted, and some were knitted. I was originally going to sew her one, but after talking to my mom, she thought the crocheted and knitted ones were cuter. Since I am no pro at knitting, I decided to crochet one and I love how it turned out!!


The first step was to find a mug to fit the cozy to.
This mug originally had a rubber cow pattern "cozy" on it. To my surprise, it came off super easy! So I cleaned the mug really well and decided to use it. 

I then crocheted the cozy. I used the same technique for the main part as I used for the brim of my little man's Santa hat in this pattern. I simply made a rectangle that fit the mug nicely. I then single crocheted around the whole thing, added two loops on one end and two buttons on the other. 

The mustache is made from felt. I drew out a pattern, cut it out, then stitched it on using regular black thread. 


 Here is the back of the mug:


In my wallet, I found a Starbucks card that still had some value, so I put that in the mug and sent it!
I love how it turned out and love even more how simple it was. 

~K.A.N.