This post is long overdue considering my baby boy is now 8 1/2 months old!!
When the time came to find out what we were having, I was so excited that it was a boy! Part of my excitement came from getting to do this nursery. This nursery is a little makeshift with pieces coming from all over the place, but I absolutely love it.
When you walk in the door:

From the other corner of the room:

This wall is probably my favorite!

The banners were made by a friend and were put up at my baby shower. I was so excited to keep them because I knew they would add such a cute decoration for his room!
The crib was bought at a yard sale for $25!!! Talk about a steal. We actually got it before I was even pregnant, but we knew we were going to start a family soon enough and we just couldn't pass it up.

This chair is the same as the chair I re-upholstered, but it was not re-upholstered, so I threw together a quick (and not-so-pretty) cover for it to match his room. But hey, it matches!
The pillow was a small pillow from a thrift shop - probably about 50 cents. I made a quick cover and it matches great!
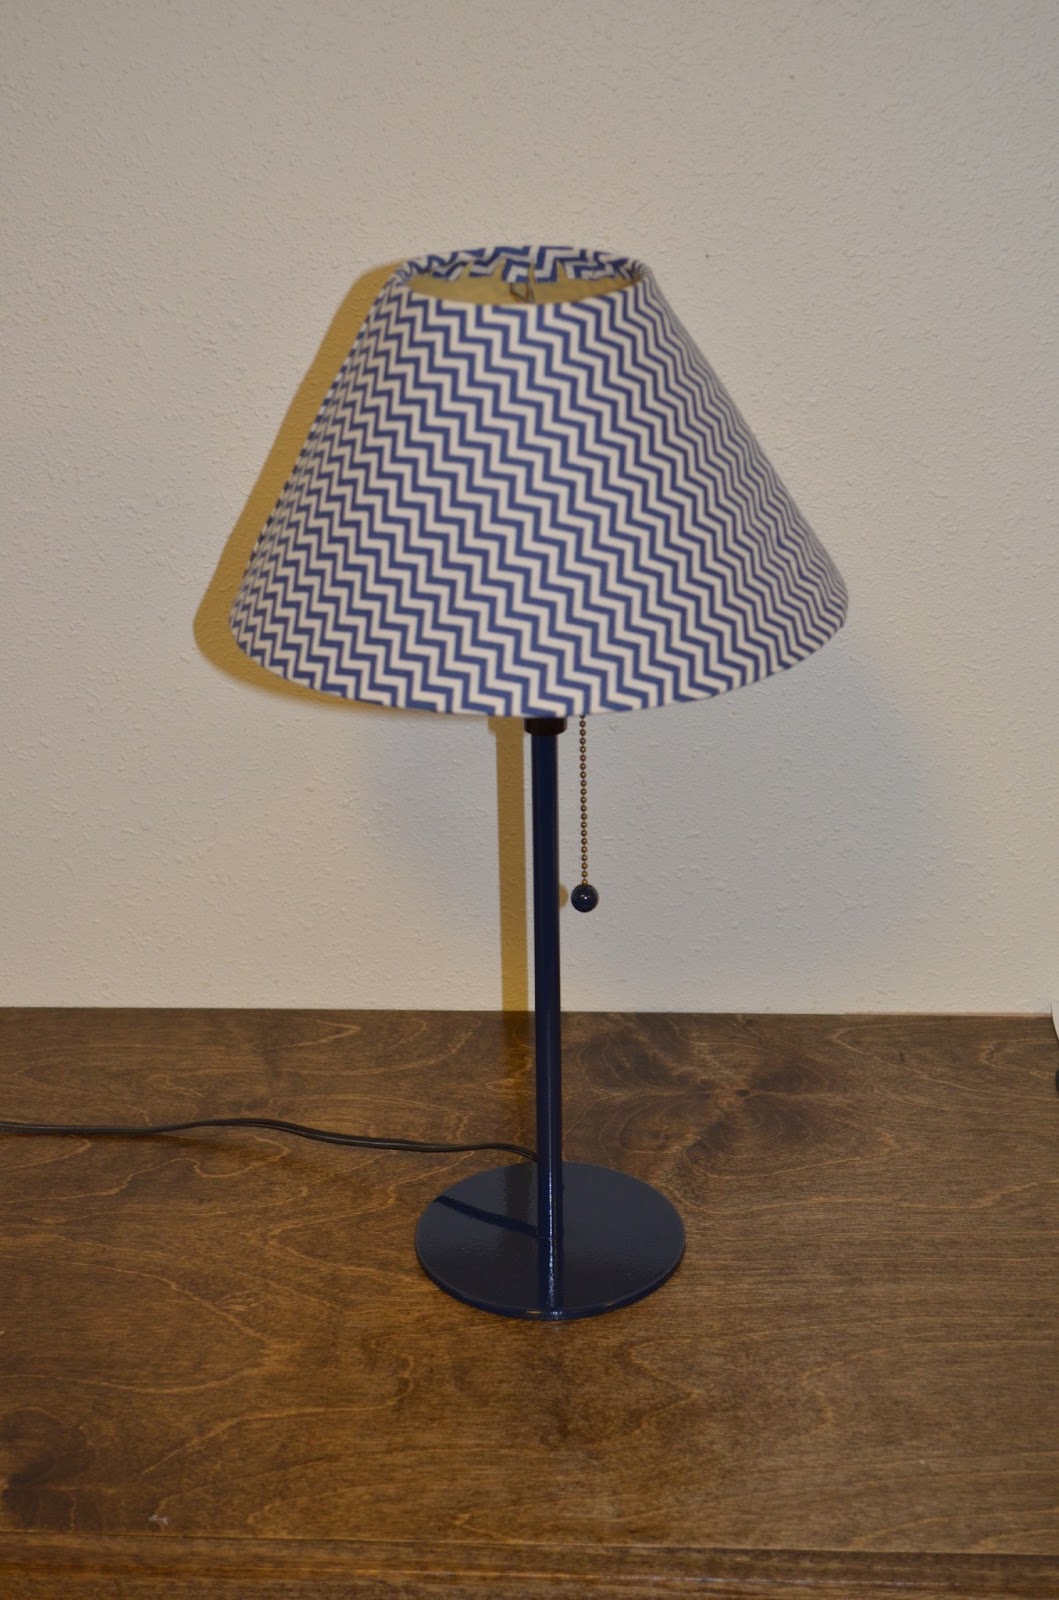
The lamp was re-done to match his room and it's a perfect fit.
The small side table used to be a little chess table that my husband has had for a long time. The top broke, so my grandpa helped me build a new top for it. I painted it white and it sits so well next to the chair!

Ideally, I wanted to have wooden letters painted white for his name. I did not have the means to make them and didn't want to spend the money on them, so I decided to use what I had. These letters are made of stiff plastic mesh that I cut to the letters. I then picked the fabric to match the room and cut it a little wider on all sides than the mesh. Each side was then folded over to the back and hot glued down. I used ribbon hot-glued in a loop at the top to allow me to hang them.

I LOVE how these curtains turned out! They are made from a twin flat sheet cut in half and hemmed. I then measured the sheet and cut and sewed on the navy blue to have 3 stripes of each.

These shelves were made by my mom and are so perfect for all of his books!

I finally got these pictures up just a month or two ago. They make the perfect finishing touch to his room. Left to right: newborn, christmas/favorite picture, 6 months.

From left to right in this picture:
The two baskets are for dirty laundry, one for colors and one for whites.
The dresser was given to us by my parents. We painted it white and bought the wooden knobs and painted those blue.
We got the changing pad from my sister-in-law and it fits perfectly on the dresser. I made the changing pad cover by using the actual changing pad as a "pattern". I was pleasantly surprised at how well it turned out!
The nightstand was also given to us. We took the old handle off and got a knew wooden one and painted it so it matched the dresser. It is so functional. The extra diapers and wipes go in the cupboard below. The small basket in the opening holds the burp cloths, and the top basket holds the current diapers, wipes, lotion, thermometer, etc.

That completes the room tour! I hope you love it as much as I do!
~K.A.N.