Showing posts with label t-shirt. Show all posts

Sunday, July 13, 2014

T-shirt Quilt Part 2

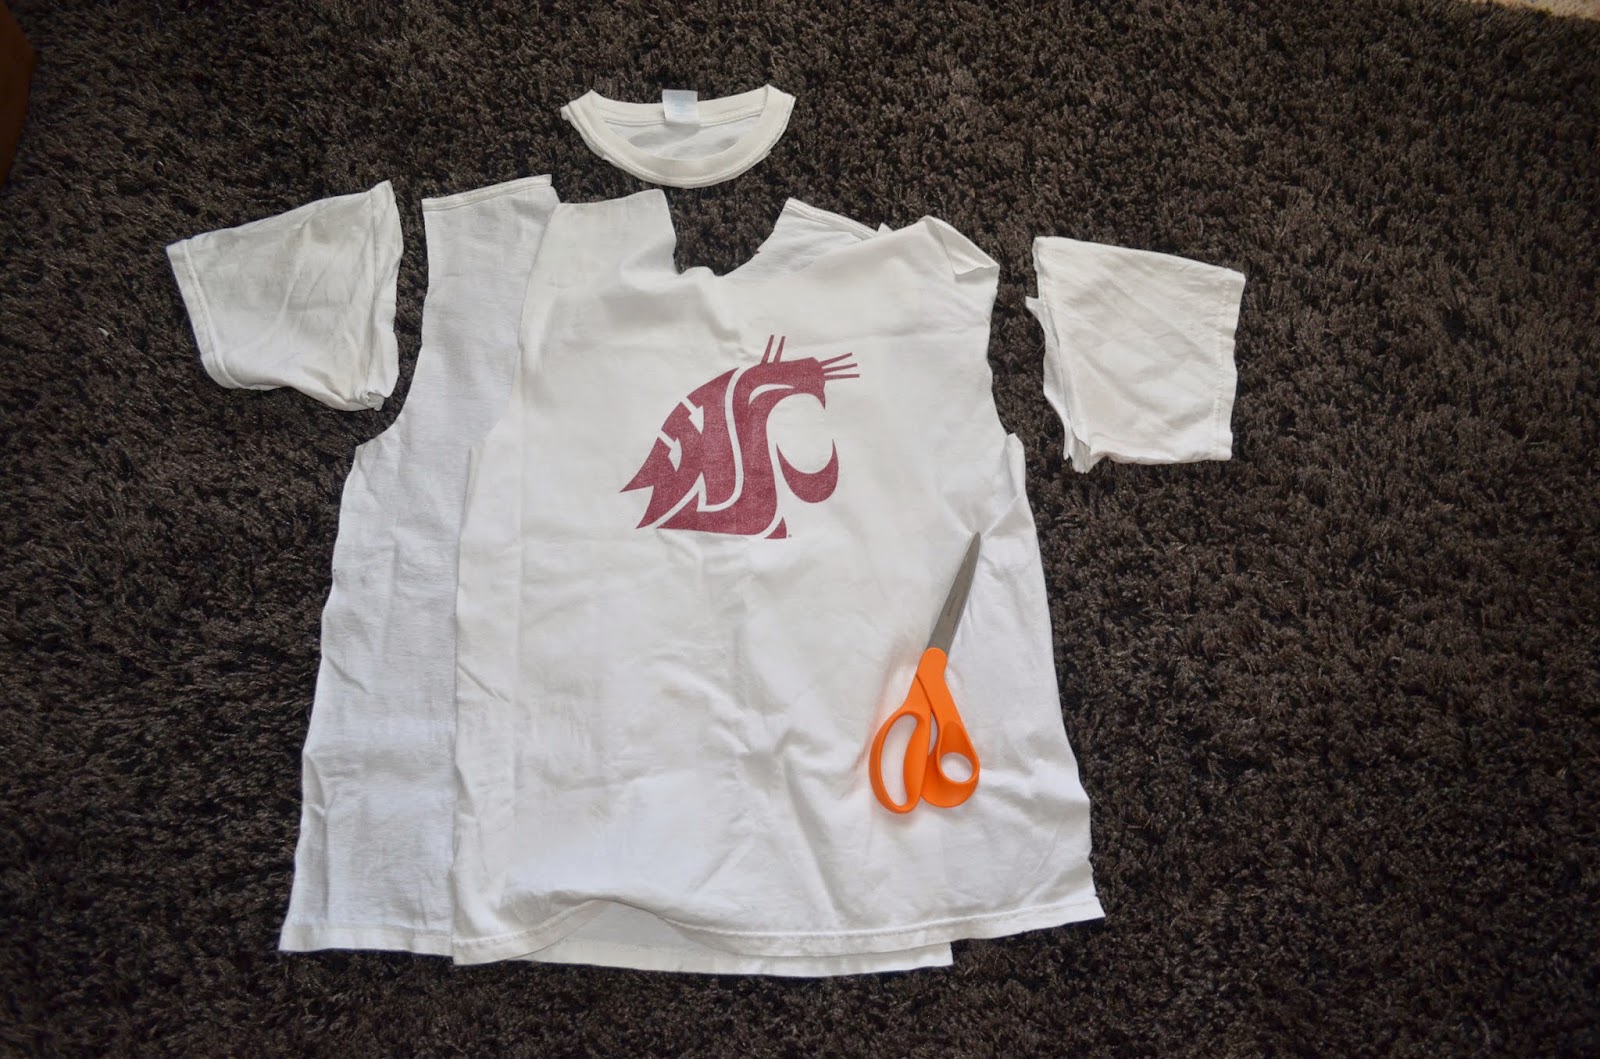
Starting from where I left off last time, I had the t-shirts all cut out. From there, I then bought and ironed interfacing on the back of all the pieces made of t-shirt fabric. I already had black cotton in my fabric stash so I used that and cut strips out to go in between the t-shirt pieces. I then laid it all out and here is what I have:


Then Owen woke up, so he got to hang out in his pack-and-play!


And mostly shove his face up against the mesh and lick it. At least he was happy, right?


I decided to sew the pieces together in sections to make it so I wasn't working with one huge piece until the end. I ended up making 3 sections:


After the whole top was sewn together, I laid out the top on the back (I didn't use batting) and pinned it together to quilt it. I then rolled up the sides to start quilting from the center.


All quilted together!!


The last step was the binding. One of my best friends gave me the brilliant idea of using the back for the binding by just folding it to the front. I loved that idea because then the blanket would be soft on the edges as well as the back...so much better for snuggling with! I folded it to the front and pinned it to the raw edges were under. 


And here is my house just after I finished the quilt. Cleaning for the day was a little lacking.


But I stitched the edges and had a finished quilt!! The mess was worth it. 
I love it and I'm excited to be able to keep the memories these t-shirts hold in a blanket forever! So fun. 

~K.A.N.

Saturday, May 31, 2014

T-Shirt Quilt Part 1

I have always wanted to make a t-shirt quilt and I have finally started! A few months ago, I gathered all of the shirts I wanted to use. I decided to make the quilt with only shirts from our time at Washington State University; mostly because I really like things to match. 

I got some awesome red fabric from a thrift store a couple of years ago and always knew I would use it for a blanket just because of how soft it is! It will be perfect for this one.

I had 9 shirts total and ended up just using 8. The shirt I decided not to use was made of a different fabric and I thought it would look better to not use it. 

The number of shirts of the different colors ended up working out perfectly: 3 gray, 2 white, 2 red, and 1 black (using the front and back to make 2 black panels). 


Starting with the first shirt, I cut up both sides, around the sleeves, and around the neck. This gave me a front and back panel. 


I then lined up my ruler as straight as possible with the front design and cut across the top. 


Centering the design with the edges to be cut, I cut it so the rectangle would be 14 inches across. For this shirt, the cougarr design is 8 inches across, which means I needed 3 inches on each side.


I then cut the bottom to make the finished rectangle 18 inches long. 


I then had 9 large rectangles that were each approximately 14 by 18 inches. I thought the quilt could use a little bit more of something, so I cut 6 rectangles 5 by 17. 

Here is what I have so far with the rectangles laid out on the back fabric (minus the white shirt that was cut above):


In between the t-shirt pieces will be plain black cotton. 

My next steps: 
1. Buy interfacing for the t-shirt fabric to help it hold shape better; iron on all rectangles
2. Cut black cotton
3. Sew top together
4. Quilt
5. Bind

I think it will be fairly simple and I'm excited to have it done!