Showing posts with label sew. Show all posts

Tuesday, February 12, 2013

Pillows

Well, it's been another while. I guess it is fair to say that I am just not super consistent about getting these posts up. To be honest I haven't even been crafting very much lately! It has been quite busy around our little home with school and pregnancy and such. I was just going through my pictures and found a simple project that I did for a friend though....recovering pillows.

She bought these pillows at a thrift store. If you are re-covering pillows, it doesn't matter if they match, as long as they are about the same size. She also picked up some normal-sized pillow cases to use as the covers. 


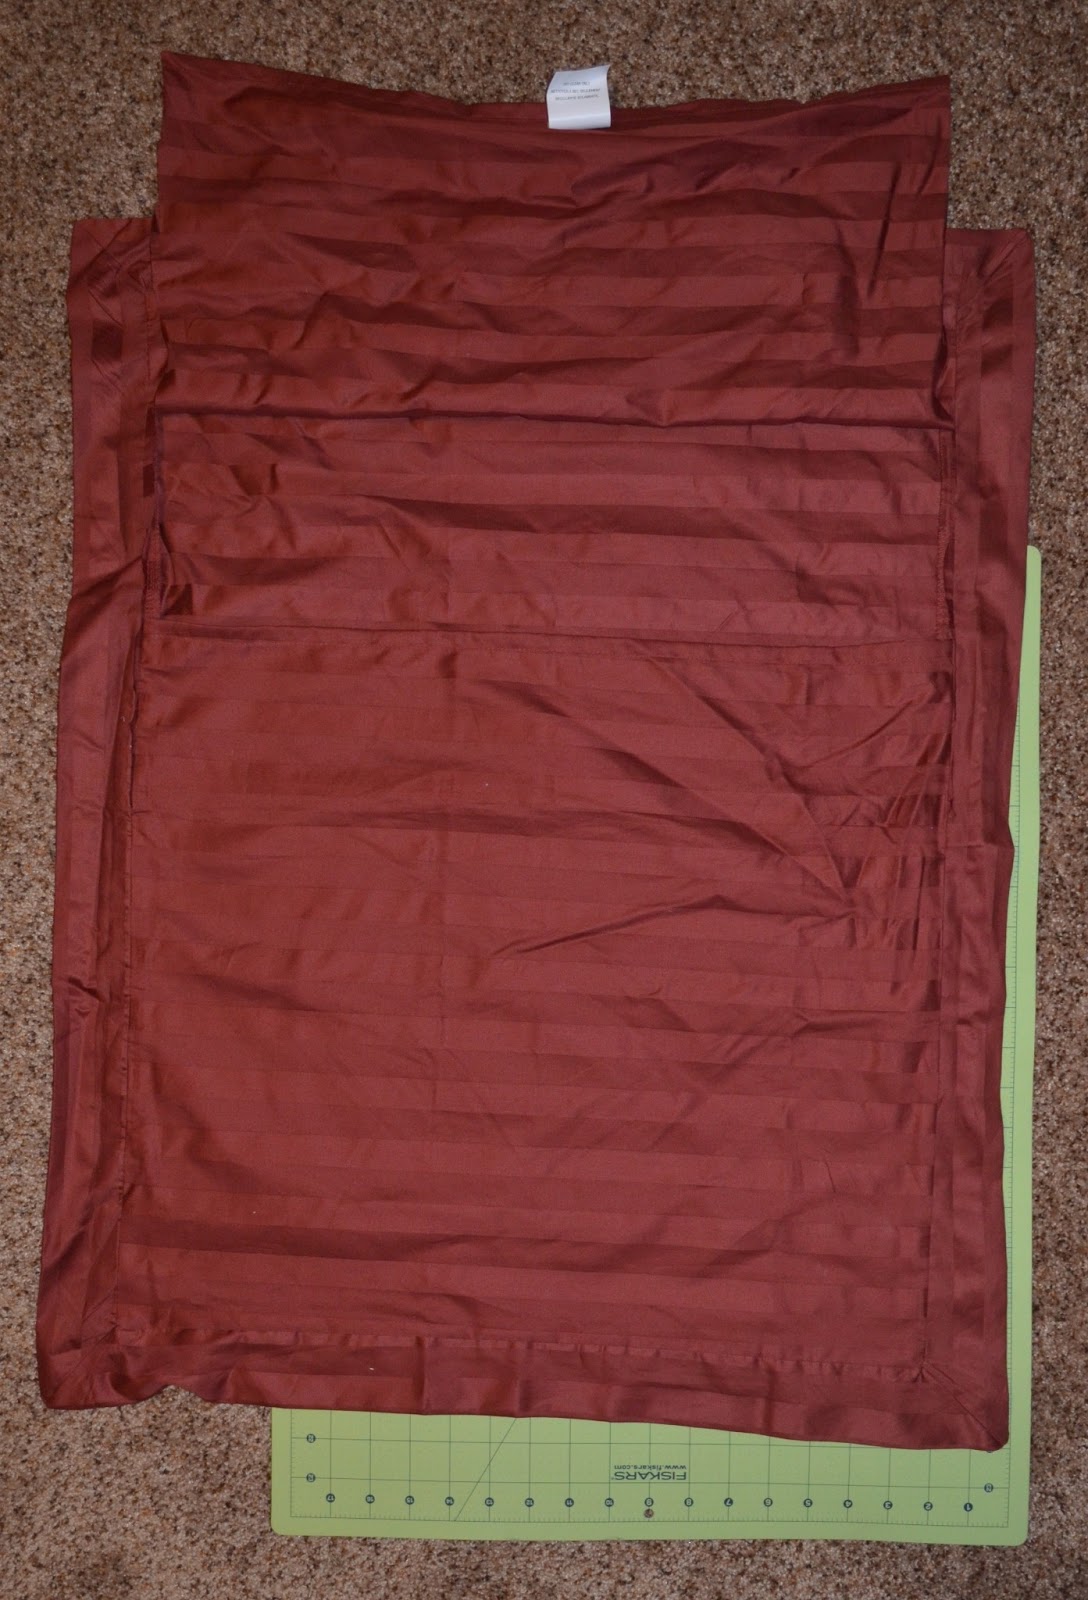
The pillow cases were envelope pillow cases. I first laid out one pillow case and cut up the sides of the smaller flap.


I next cut the bottom off and up the sides. I was cutting through both layers of the pillow case.


I then cut straight across to make two squares just bigger than the size of the pillow.
The fabric squares were then placed right-sides-in, pinned and sewn along three full sides and a few inches in both sides of the top.


All four corners were then cut.


The cover was then turned right-side-out and the pillow was placed inside.


With the pillow inside, the raw edges were tucked in and pinned. 


This edge was then sewn. You can do this by hand to give a good, clean look, but I wanted thee fast way out, so I did it with my machine. It gives a little bit of an edge that sticks out, but for these, I thought it turned out fine. 


The same process was repeated with the second pillow! 


~K.A.N.

Thursday, October 18, 2012

Onesies into T-shirts

A couple of weeks ago, my aunt asked if I have a sewing machine. When I said yes she asked if I could do a project for her. She explained that her daughter, who is 2 and now starting to potty train, has a lot of cute onesies, but those snaps just don't work with potty training. She asked if I could make them into shirts for her, and I said yes. 

A couple of days later, the package arrived in the mail with five long sleeve and five short sleeve onesies.


She also sent a shirt for the length she was looking for.


When I laid the first onesie down with the Americana shirt on top, I realized that even with cutting the onsies right at the hips, there would be no room to hem.


I made a cut straight across, as low as I could and decided I would work from there.


With the bottom cut off, I thought about the different ways I could fix/hem the shirt. I had the idea to just use another type of fabric to make a hem, when I realized I had all the fabric from the bottom part of the onesie that I had just cut off! It was the same fabric, so it would of course work perfectly. 
I cut along the dotted line (below) to use the edge of the bottom of the onesie as a hem for the shirt.


Laying those pieces straight out, there was plenty to work with! 


I cut the pieces about 1 inch bigger than the width of the shirt and pinned them together, right sides in.


Using a 1/2 inch seam allowance, I sewed the pieces together on both ends, making sure to stitch back and forth a couple of times. I then turned this new "hem" right-side-out and starting with matching the seams, I pinned it to the bottom of the shirt.


Using my longest stitch possible, I sewed a straight line all the way around, attaching the hem to the bottom of the shirt...all finished!


I repeated this process for all the shirts and was quite pleased with how they turned out. 


10 shirts ready for potty training days. 

~K.A.N.

Wednesday, August 22, 2012

Messenger Bag

I needed a new bag and I absolutely love this new bag I made! I followed this tutorial with a few changes to make it just a messenger bag...which in turn made it easier. The tutorial I give here will be almost identical, but all credit goes to Ashley.

For my outer fabric, I used a heavier-weight fabric to make the bag hold shape, and for the lining I used a simple white cotton. 

First, I cut out all of my pieces. You will need: 

4 pieces cut to be 12 by 22 inches, 2 of outer fabric and 2 of lining, to be made into the main body

 2 pieces cut to be 17.5 by 14.5 inches, 1 outer, 1 lining. This will be made into the flap.

2 pieces cut to be 43 by 3 1/4 inches, 1 outer, 1 lining, for the strap

Starting with the 12 by 22 inch pieces, place the two outer pieces right side together and stitch around the one long and two short edges. I used about 1/2 inch seam allowance then zig-zag stiched around the edges.


With the seams still facing out, place your hand inside the bag to open it up. Line up the bottom and side seams and place together to make a corner. 


Measure two inches down from the tip and sew a straight line. I did two lines about 1/4 inch apart. Repeat with the other side and then with the lining. Turn the outer fabric right-side-out and leave the inner fabric inside-out. 


Next, we will work on the flap. Take the two pieces cut out for the flap and place right sides together. Stitch along the two shorter sides and one longer side and cut the corners (this is to allow the corners to turn out nicely).


Turn the flap right-side-out, iron flat, and stitch around the same 3 edges to finish the look. 


Next, take the strap pieces, place right sides together and sew down both long sides. Flip right-side-out, press down, and add a seam like you did with the flap.


Now, you have completed all the parts and it is time to put the bag together.

Line up the center of the straps with the side seams of the main body piece made from outer fabric and pin in place. Center the flap and pin that in place also. You are pinning right sides of the outer fabrics together, with raw edges together. 


With the strap and flap pinned onto the outer fabric, place the lining (still inside-out) over it all.


Pin all around the edges, leaving about 6 inches open to allow you to turn the bag right-side-out.


Stitch all the way around the edge, leaving the 6 inches open. Turn the bag right-side-out through this opening.


With the bag right-side-out, pin the opening shut.


Sew all the way around the top, including the pinned portion to finish the bag!


~K.A.N.

Thursday, August 16, 2012

Baby Shoes!

I do love baby shoes. 

A while back, I was looking through some blogs and came across this post. I love all of her projects, and the idea to make baby shoes from old purses, well it is genius! 

I don't have any little ones yet, but thank goodness I have family that does. I collected a few purses from a thrift store in my hometown so that I could make them into some little shoes...and I have finally done it; at least with one of them.

I decided to pick colors that would match several things. I got a red purse, a black purse, and was very excited to find a white purse. All three purses have enough fabric to make at least one little pair of shoes. 

For this pair of shoes, I used the white purse. I got the measurements for my niece's feet and drew the pattern out with a sole piece and a top piece. I then cut out four of each piece, two using the vinyl fabric from the purse and two using a softer fabric for the inside of the shoe (I used white flannel).

I then assembled all pieces together to make some little shoes! I used white elastic to help the shoes stay on. I used more white vinyl to make little bows, which I hand-stitched onto the elastic. And that is it!


New white baby shoes. I can't wait to see them on her!

~K.A.N.

Wednesday, August 15, 2012

Jeans to Shorts

This summer I discovered that I didn't have a lot of shorts/capris that I liked, so rather than buying some, I decided to make some...not from scratch. 

I have several pairs of jeans because most of them are from thrift stores or hand-me-down. I love jeans that are only a dollar or two! When they are free, even if they don't fit perfectly, I take them because I know I'll find something to do with them. 

I have a few pairs of jeans that are too short. In the winter, I tuck my jeans into my boots so it doesn't matter if they are too short. However, I have now purchased some skinny jeans which fit much better into those boots. This gives me some jeans to work with.

Turning jeans into shorts:
This is actually a very simple fix and is perfect for the hot summer weather! 


Both of these jeans were given to me and they both fit in all aspects except length...perfect to turn into shorts.

I first put the jeans on and mark the length I want. 

I then took the jeans off and laid them down, making sure both layers were laying flat. Using my rotary blade and cutting mat, I cut a straight line (parallel to the original hem of the jeans) about an inch below where I marked. 


I then used my measuring tape to make sure I was cutting both legs to be the same length and cut the other leg. After the legs were cut, I tried the jeans on again to pin to the length I wanted. I pinned all the way around both legs, and carefully took the shorts off. 


At this point, I adjusted any pins as needed. 

Using a jean needle and thread, I added a double line hem around the bottom of both pairs. On the pair on the left, the lines are about an inch apart and on the pair on the right, the lines are about 1/4 inch apart. 


And that's it! New shorts to wear!

~K.A.N.

Wednesday, August 8, 2012

Baby Gift

I have known Ashley and Justin since they first started dating and recently they welcomed home the newest member of their family. Their baby girl is just so sweet! 

Before they knew the gender, they picked a nursery theme that they liked that could be used for a girl or a boy. It is this one here. Aren't those elephants just so sweet? I love it.

A couple of months before I knew the theme, my grandma had given me some flannel that was green with brown, white, and green polka dots. When I found out these were the colors of the nursery for their baby, I knew I had to make something for them with that fabric. 

I started out planning to make a simple receiving blanket and if I had extra material, I would make a burp cloth and maybe even a little stuffed animal elephant. 

I did that, plus a little more. I drew out patterns for the different elephants and different sizes of elephants I used. I cut everything out and put it all together. I was so excited with how it all turned out! 


All together, I made a blanket, a burp cloth, two stuffed animal elephants, and added an elephant to a white onesie. I already had the little brown pants and they went perfectly with it to complete the gift. 

I took it to Ashley and was so happy with how much she loved it too!

~K.A.N.

Monday, August 6, 2012

Fabric Flower

Do you need to add an extra something to a project like a blanket or a skirt? Well, a flower might just be that something. I used this flower on a skirt I made for my little sister last Christmas, and it just turned out so cute!


Would you like to make some flowers? 

First, draw a circle and cut it in half to be the pattern for the petals. Use this half circle to cut out the number of petals you want. I did five petals per flower.


Next, fold the half circle in half once more, right sides facing each other, and sew down the straight edge.


Turn this quarter circle inside out. Ironing at this point would probably make the next step easier, but I did not iron. 


The next step is to gather along the arc. Increase your stitch length to the longest it will go and sew along the arc. Leave enough thread length on either side and do not back-stitch. 


Gather along the arc by pulling the top or bottom thread and sliding your fabric along it. You can pull from both sides, just make sure that you are using the same thread at each end (whether it be top or bottom). 


With the arc gathered, tie a knot at both ends using the top and bottom threads to keep the gathering from coming out. Cut the thread. 

Repeat with the number of petals you want for your flower and lay the petals out.


With the petals laid out, choose a fabric for the center and cut out a circle just larger than the one made by the center of the petals. Place the petals on the circle with the gather edge lined up along the outside edge of the circle and sew along the edge. Turning the petals out will then give your finished fabric flower!


~K.A.N.